
Hamstring Strain Recovery

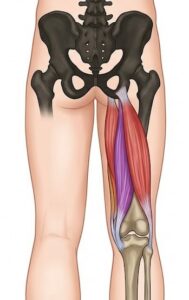
Recovering from a proximal hamstring strain is a test of patience for any athlete. Because the proximal hamstring tendon attaches directly to your “sit bone” (the ischial tuberosity) deep in the glute, it is notorious for nagging pain and high re-injury rates if rushed.

The secret to a successful return to the field isn’t just resting until the pain stops—it is about a systematic, progressive loading protocol. Tendons heal through load, but it has to be the right amount of load at the right joint angle.

Here is a step-by-step progression to take your proximal hamstring from day one of rehab all the way back to explosive, sport-specific performance.


Proximal Hamstring Strain

Phase 1: Calming the Tendon with Isometrics

In the early stages of a strain, the tendon is highly reactive. Moving it through a full, stretched range of motion will often irritate it. This is where isometrics (muscle contraction without movement) come in. They create a pain-relieving effect while building baseline strength.

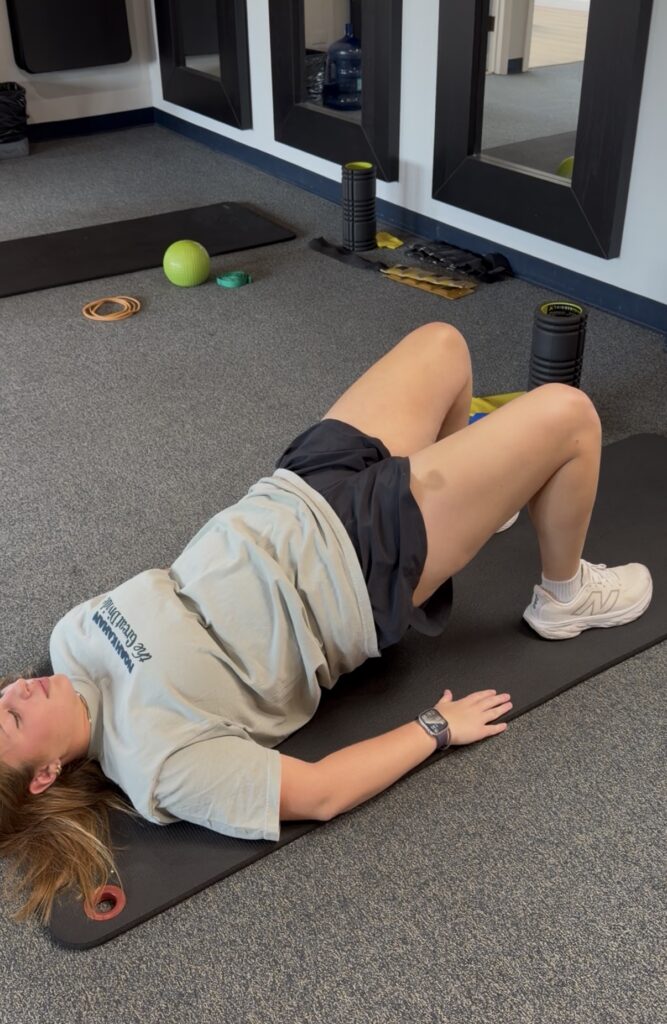
  • Two-Leg Isometric Bridges: Start by lying on your back with your knees bent to roughly 90 degrees. Squeeze your glutes, brace your core, and lift your hips off the ground. Hold this top position for 30 to 45 seconds. By keeping the hip neutral and the knee bent, you reduce the compressive load on the proximal tendon while safely engaging the muscle.

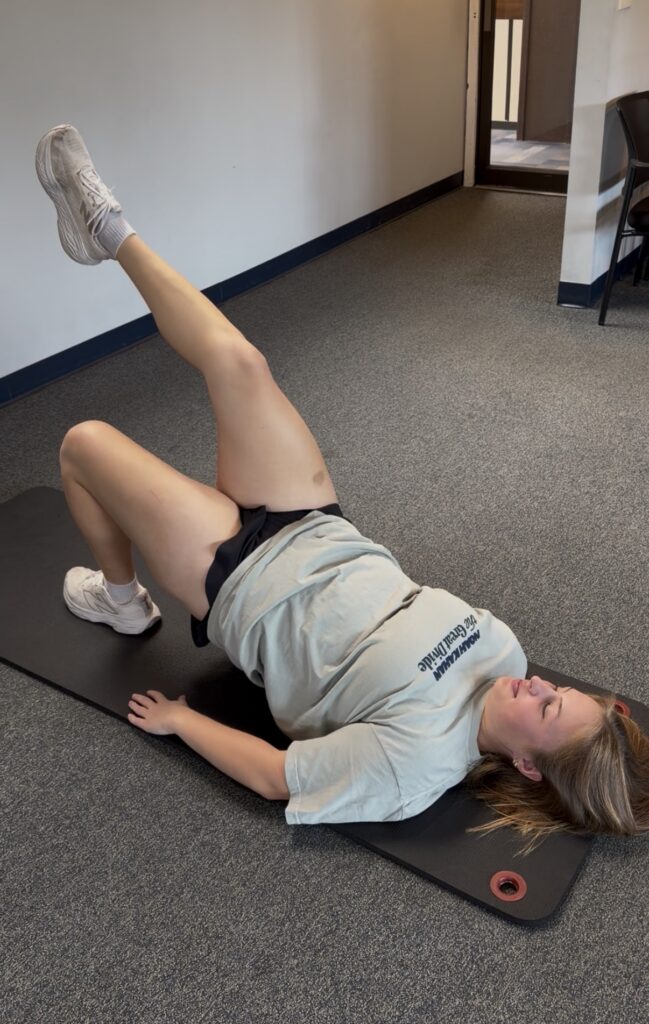
  • One-Leg Isometric Bridges: Once you can comfortably hold a two-leg bridge for multiple 45-second sets without pain, transition to a single-leg hold. This doubles the load on the injured side and forces your core to stabilize your pelvis to prevent rotational shifting.

Isometric Bridge
Single Leg Isometric Bridge

Phase 2: Increasing the Demand with Long Lever Bridges

Once single-leg isometric bridges feel easy, it is time to shift more of the mechanical demand away from the glutes and directly into the hamstrings. We do this by changing the joint angle.

  • Long Lever Bridges: Walk your feet further away from your body so your knees are only slightly bent (around 20 to 30 degrees of flexion). Dig your heels into the floor and lift your hips.
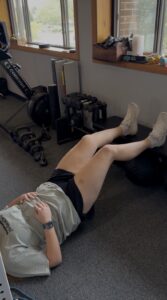
    Long Lever Bridge

By lengthening the lever arm, you force the hamstrings to work incredibly hard to stabilize the pelvis and knee. Start with two legs, and progressively work toward holding a one-leg long lever bridge


Phase 3: Introducing Hip Flexion with RDLs

This is the most critical transition in the rehab process. When you bend at the waist (hip flexion), the proximal hamstring tendon stretches and actually wraps around the ischial tuberosity, creating compression. Early in rehab, compression hurts. Now, we need to adapt the tendon to it.

  • Bodyweight Romanian Deadlifts (RDLs): Stand tall with a slight, soft bend in your knees. Hinge at your hips, pushing your glutes straight backward while keeping your back perfectly flat. Go only as deep as your hamstring mobility (and pain-free threshold) allows, then squeeze your glutes to stand back up.

By controlling the eccentric (lengthening) phase of the movement, you are remodeling the collagen fibers in the tendon to handle the stretching forces required for running and jumping.
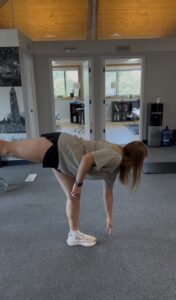
Body Weight RDL

Phase 4: Heavy Loads and Sport-Specific Plyometrics

The final phase bridges the gap between physical therapy and live competition. The tendon can now handle compression and lengthening, so we need to prepare it for high velocity and high force.

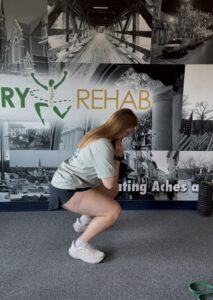
  • Squats & Heavy Resistance: Implement loaded squats, split squats, and weighted RDLs. Squats require simultaneous hip and knee flexion, teaching the hamstrings to function dynamically alongside the quads and glutes under heavy loads.

  • Sport-Specific Plyometrics: Tendons act like springs—they need to store and release energy rapidly. Begin with low-level plyometrics like pogo jumps or A-skips. Progress to broad jumps, bounds, and acceleration sprints. The hamstring undergoes its highest loads during the terminal swing phase of a sprint (right before your foot strikes the ground). Gradually increasing your sprinting speeds from 70% to 100% effort over several weeks is the ultimate test of your rehab.

Listen to your body at every step. Tendon rehab is rarely perfectly linear, and a 24-hour symptom check (assessing how you feel the morning after a workout) is your best metric for determining if you are ready to progress to the next phase.

Weighted Squat
Google Rating
5.0
Based on 160 reviews
js_loader